Not every one has the cash for Adobe PhotoShop but if you want to get your Feet wet with Photo editing try Gimp...
Gimp Levels walk through step by step.

Having already installed gimp from the Gimp Install Post
From the Main Image window click File -> Open to open your image.
or drag an drop an image from your folder in to the Main Image window.
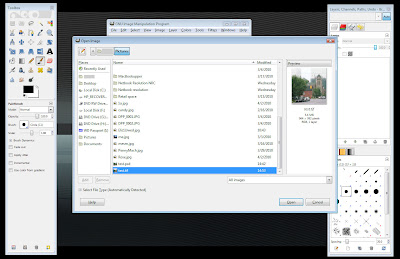
Gimp can open many different types of files including but not limited to jpg, jpeg, tif, bmp, psd (photoshop files), etc.....
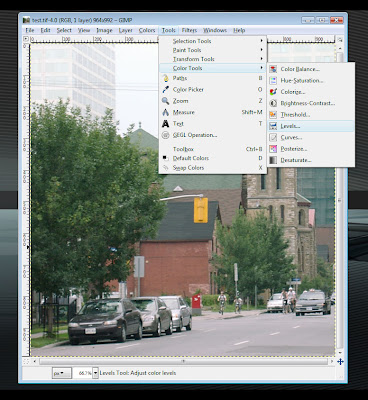
Once you have your Photo open in Gimp Chose Tools -> Color Tools -> levels
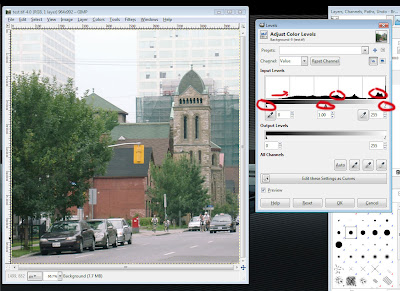
This will open the levels tool pallet the arrows that you will be adjusting in Gimp
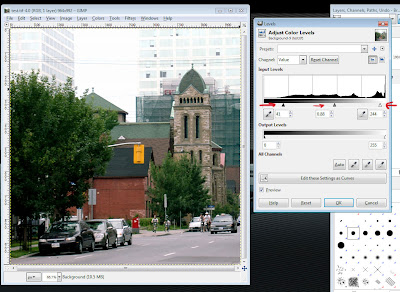
As you can see by adjusting the arrow on the left (Dark Tones), the arrow in the middle (Mid Tones), and the arrow to the right (Light tones) some of the color and depth of the Photo has been brought out ... and some of the very light areas that were washed out look better... Just by doing this simple step can bring a Photo from ready for the trash can back to being posted on flickr.
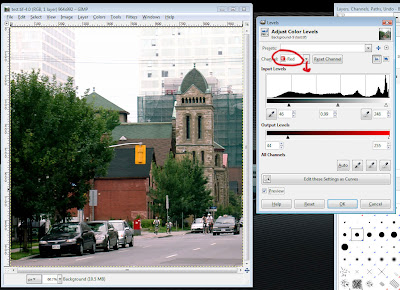
With Gimp Levels tools you can adjust each color of RGB (Red, Green, Blue) individualy as well if you want to bring out the colors. Or adjust the color of the overall Photo.
Just play with it keep the preview box checked so you can see what it will look like.. Art is not an exact science it is in the eye of the beholder. So it is what looks good to you.
But remember there are some things that just can not be fixed with editing programs there is no substitutions for good photography.. Keep shooting (as I do) and eventualy you will know what is good (I'm not there either)
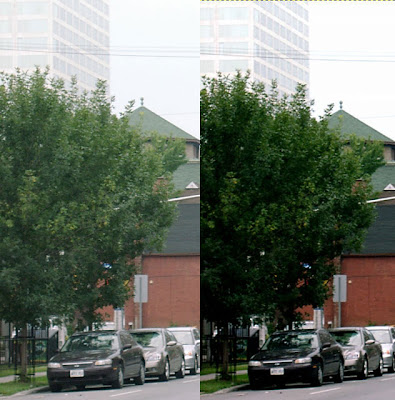
Befor and After
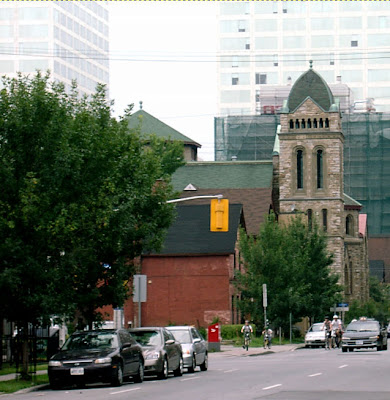
Final.
No comments:
Post a Comment