Lets get started Video first then Step by step tutorial

Go to Gimp.org and download the version you need for this tutorial I used the Windows installer GIMP 2.6.8
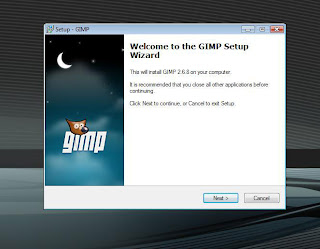
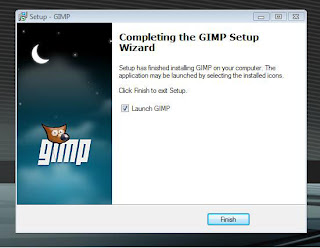
After you have downloaded the GIMP Program just install it .. use the defaults unless you have a reason to change them I have given you screen shots to follow along with.
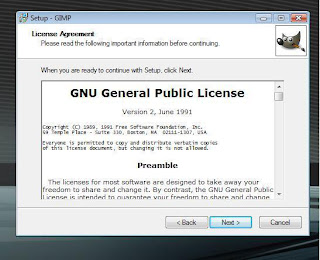
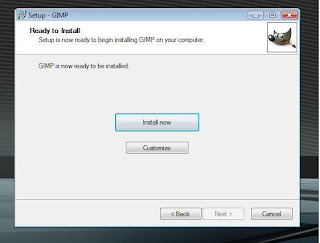
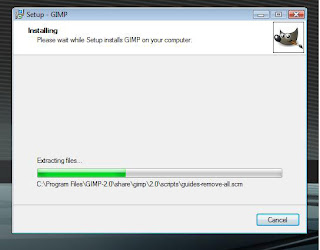
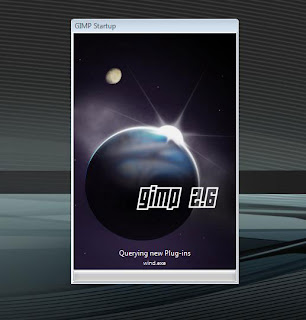
Once the install is done you can open GIMP .... the first time it opens it will take a while at this splach screen ... just be patent.
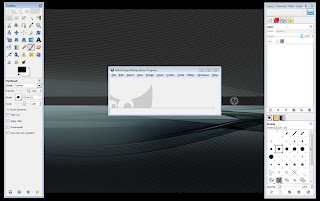
Here you can see you have many of the same tools and utilities that PhotoShop provides.
On the left side is the Main ToolBox.
Under that is the Tools Option
in the center is the Image Window ... this contains the Menu of main commands like File, Edit, ect....
On the Right side you have the
Layers Channels
and
Brushes/Patterns ect.
Gimp has great documentation on all of this but sometimes it is easyer to work with when you have screen shots and videos .. so hopefully I will not get side tracked and continue on with this ...
Next Post will be for installing a RAW plug-in


No comments:
Post a Comment